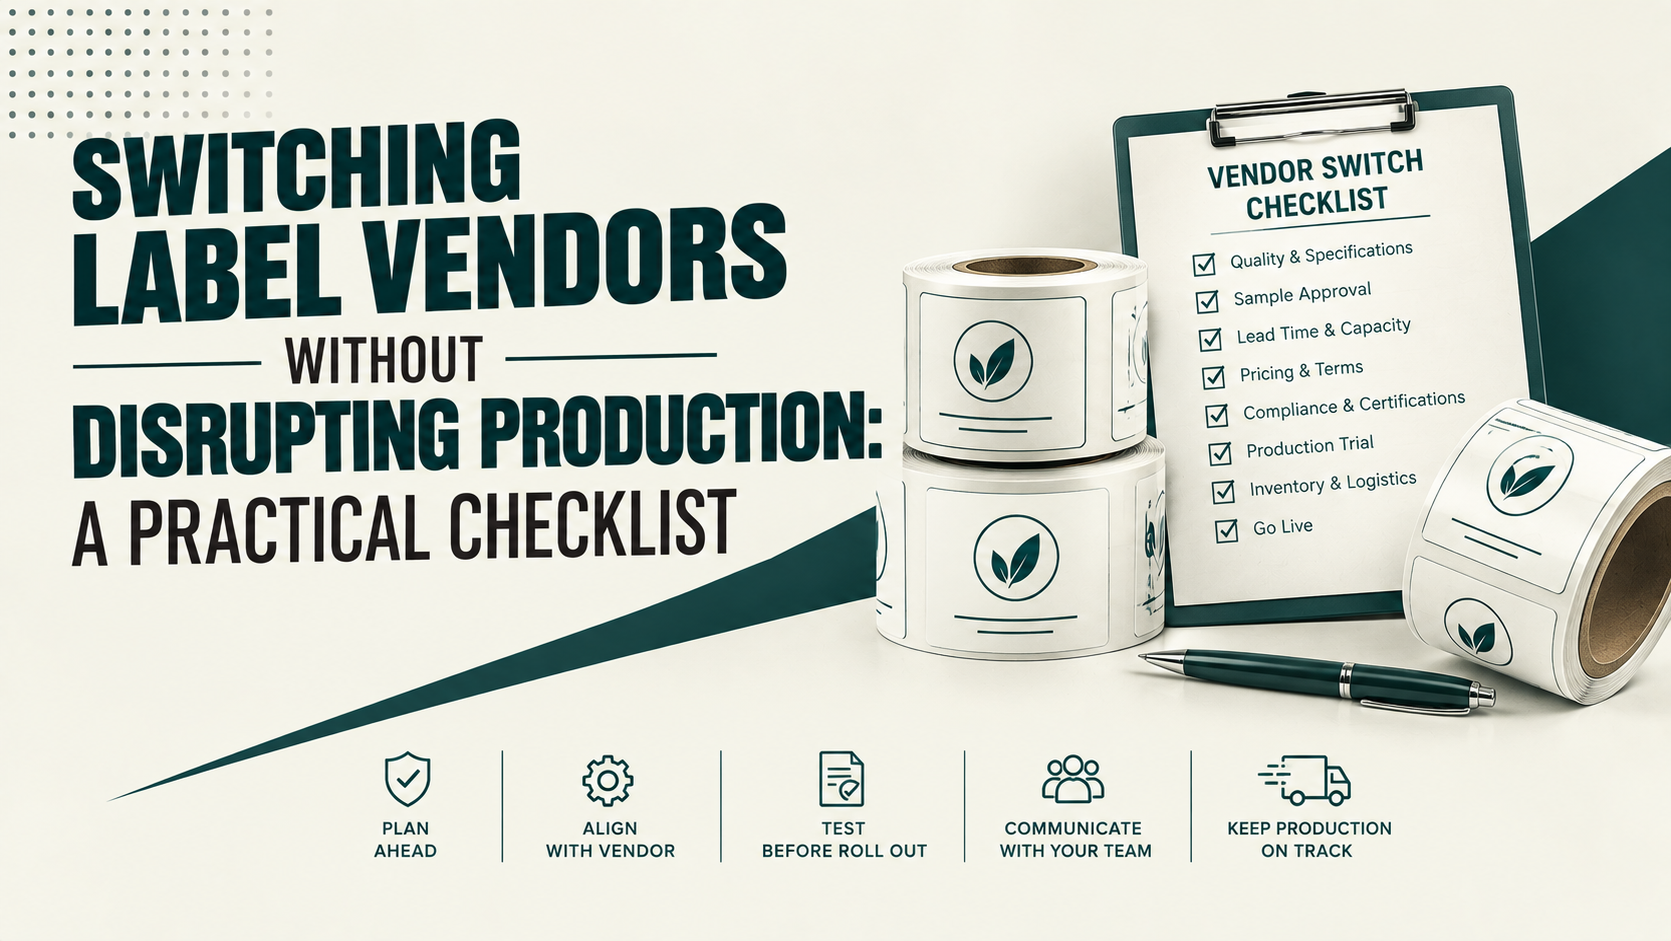

Brands usually switch label vendors for a good reason, better pricing, better service, or a capability the current supplier lacks. The switch itself is rarely the problem. What causes disruption is assuming that reprinting the same label at a new vendor is a simple handoff. It is not. A label carries technical details, ownership questions, and calibration data that live with the outgoing vendor by default. Skipping the work of transferring them properly is exactly what turns a good decision into a production delay. Here is what actually needs to happen, in order while switching label vendors.
1. Confirm Plate or Cylinder Ownership in Writing
This is the detail that derails more vendor transitions than any other. If your current printer uses flexographic plates or cylinders, those physical tools may or may not belong to you, depending on how the original agreement was structured. Get written confirmation of ownership and release terms from your existing vendor before you begin the transition, not once it is already underway. A vendor under no obligation to release your plates can slow a transition significantly, even when the relationship itself is ending amicably.
2. Hand Over Master Artwork Files, Not a Physical Label Sample
It is tempting to simply send the new vendor a printed sample of your current label and ask them to match it. Do not. A physical sample carries the specific print variables, ink behaviour, and material characteristics of the outgoing vendor’s press, none of which the new vendor can see or replicate from a photo of the result. Send the original vector artwork files and the documented specification instead, covering dimensions, colour codes, material, and finish. This gives the new vendor a clean starting point, rather than an attempt to reverse-engineer someone else’s print output.
3. Rebuild the Colour Standard Properly
A request to “match our current colour” is not a usable specification. Provide exact Pantone or spot colour references, not just a visual description, and be clear about how much variance is acceptable. Colour can shift for reasons that have nothing to do with the ink itself, including changes in material finish or substrate, so the new vendor needs a documented target to print against, not an approximate impression of what the label used to look like.
4. Insist on a Physical Proof on Your Actual Material
A digital proof on screen is not a colour match test. Request a physical proof printed on the actual label material you will be using, and compare it against your approved reference sample under consistent lighting, ideally in more than one setting, since colour can read differently under warehouse light versus retail lighting. If the difference is visible to the eye, it needs another round before approval, regardless of what the vendor considers an acceptable tolerance.
5. Test the Label on Your Real Application Line
A label that looks correct on a flat sheet can still behave differently once it meets your actual bottle, jar, or filling line. Run a small test batch through your real application process before committing to full production volume. This step catches issues like adhesive behaviour on your specific container material, application speed compatibility, or minor dimension mismatches that a static proof would never reveal.
6. Plan a Real Overlap, Not a Hard Cutover
Do not schedule the new vendor’s first production run for the exact moment your existing stock runs out. Build in an overlap period where the new vendor’s labels are tested, approved, and available before the old supply is fully depleted. A hard cutover leaves no room to catch a problem without stopping production entirely, while an overlap gives you a buffer to fix an issue before it becomes a shortage.
7. Lock a Written Quality Standard Before the First Bulk Run
Agree on what counts as an acceptable defect rate, an acceptable colour variance, and what happens if a batch falls outside that standard, before placing your first large order. This protects both sides, since a written standard gives the new vendor a clear target and gives you a documented basis for a reprint or credit if that standard is not met. Without it, a quality dispute after the fact usually gets resolved on the vendor’s terms, not yours.
FAQs
Who owns the printing plates when switching label vendors?
This depends on the original agreement with your current vendor and is not automatic in either direction. Always request written confirmation of plate or cylinder ownership and release terms before starting a transition, since resolving this after the fact can significantly delay a switch.
Why shouldn’t I just send my old label as a sample to the new printer?
A physical sample reflects the specific press, ink, and material behaviour of your previous vendor, which the new vendor cannot accurately reverse-engineer. Providing original artwork files and a documented specification gives the new vendor a clean, accurate starting point instead.
How much overlap should I plan between an old and new label vendor?
Enough time to complete sampling, colour approval, and a real production-line test before your existing stock runs out. The exact duration depends on your order volume and usage rate, but the goal is to have approved new labels ready before the old supply is fully depleted, not after.
What is an acceptable colour variance when approving a new vendor’s proof?
This should be agreed upfront rather than judged after printing. Many brands define an acceptable colour tolerance using a Delta E value, but the practical test is a visible-match comparison under standardized lighting against your approved reference sample.